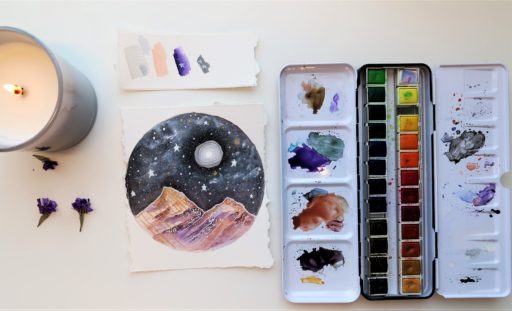
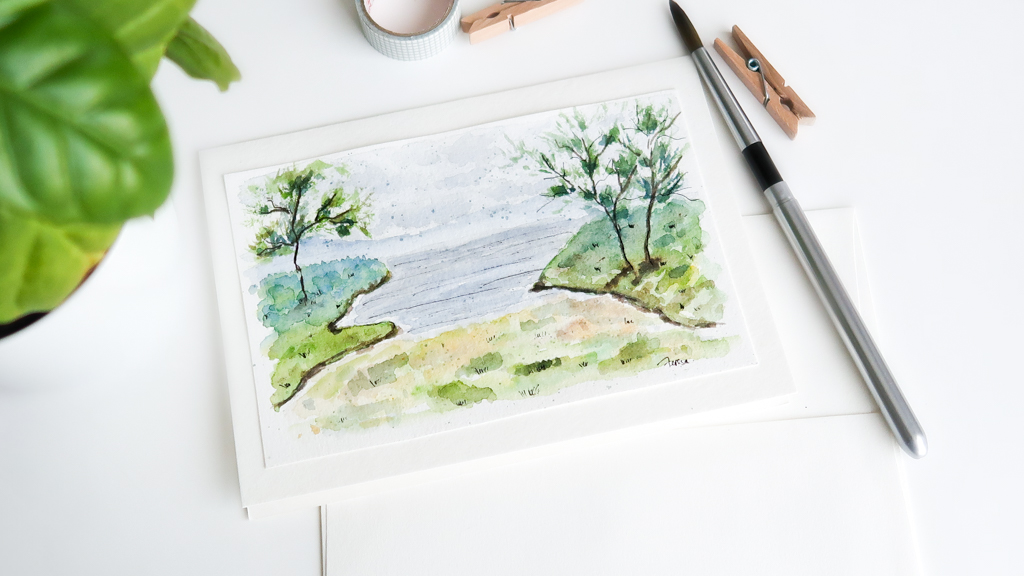

In this tutorial, I will walk you through step by step on how to paint a beautiful misty ocean landscape with watercolor. This is a loose painting, so it will be easy and simple for any watercolor beginners. You will be able to complete the painting in 15 to 20′.
Supply
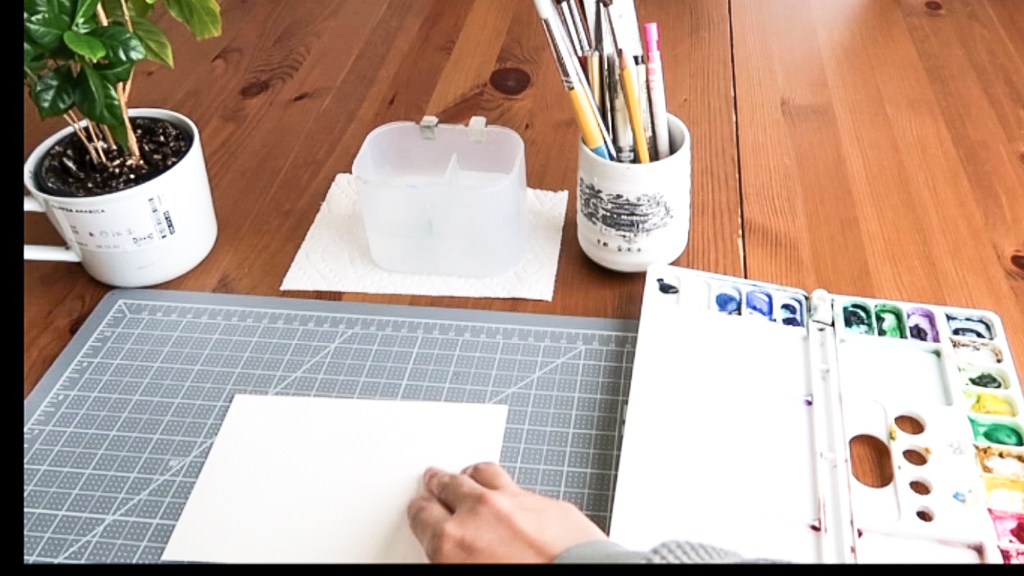
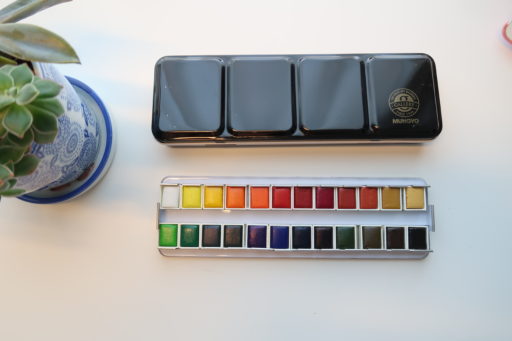
- Cotman by Winsor and Newton watercolor paint
- Bee 100% cotton watercolor paper
- Canson XL ( for color swatching )
- 2 cups of clean water for cleaning brushes
- Princeton round brush #6
- Daiso cheap brush to paint leaves
- Towel or tissue
Step 1: Draw a pencil sketch
Grab a pencil and draw a slight sketch on your painting paper to act as guidelines when you started painting. Don’t need to put details, just draw some lines to distinguish different areas of the painting like the sky, ocean, small islands.
Step 2: Painting the sky & mountain
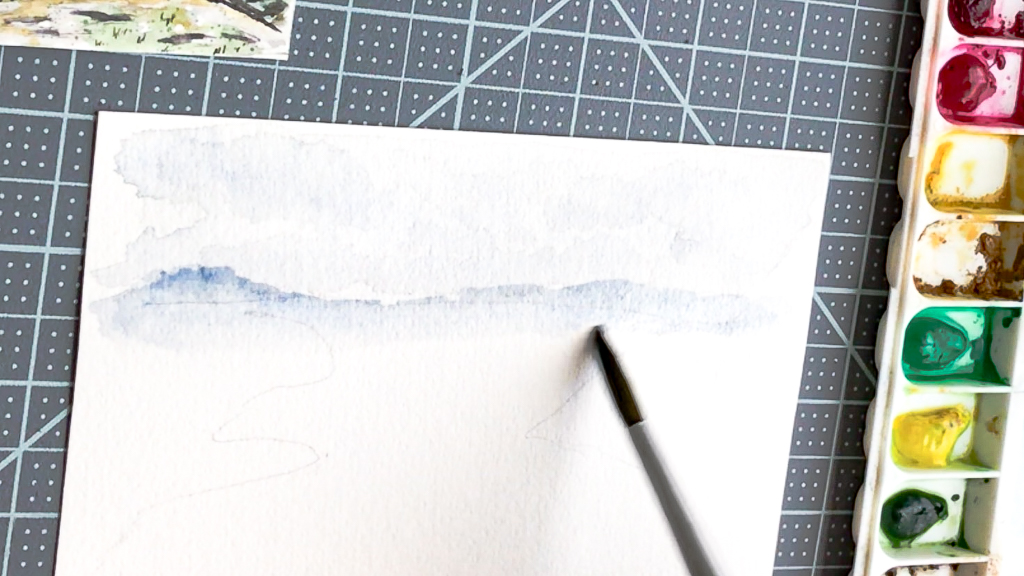
Mixing payne grey with a bit of ultramarine blue to get a bluish-grey, then adding a bit of water to dilute it. First, apply the water onto the sky area, then going with the color. Use the tip of your brush, drop the color randomly within the sky area to create clouds. This is called the wet on wet technique, once the paper is wet, when you apply the color it will be blended nicely itself. Plus, don’t focus to get the color even, we’re painting clouds the more texture you have the better.
Using the same mixture of color for the sky, maybe add a bit more of cerulean blue, and start painting the mountain. To communicate the distance and create misty effect, add water into the color mixture to dilute it. Then slightly apply it on the paper.
Step 3: Painting small islands and foreground
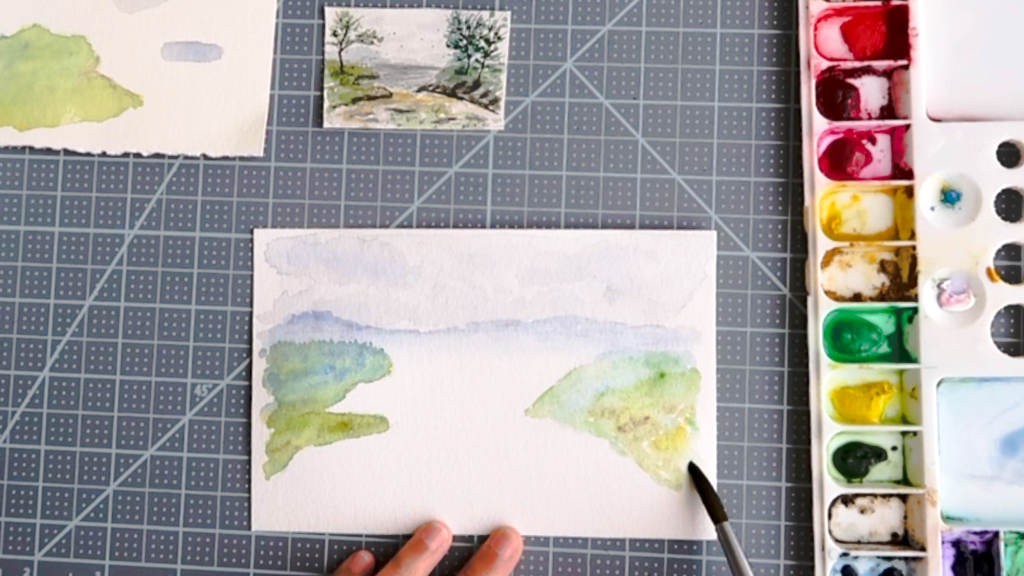
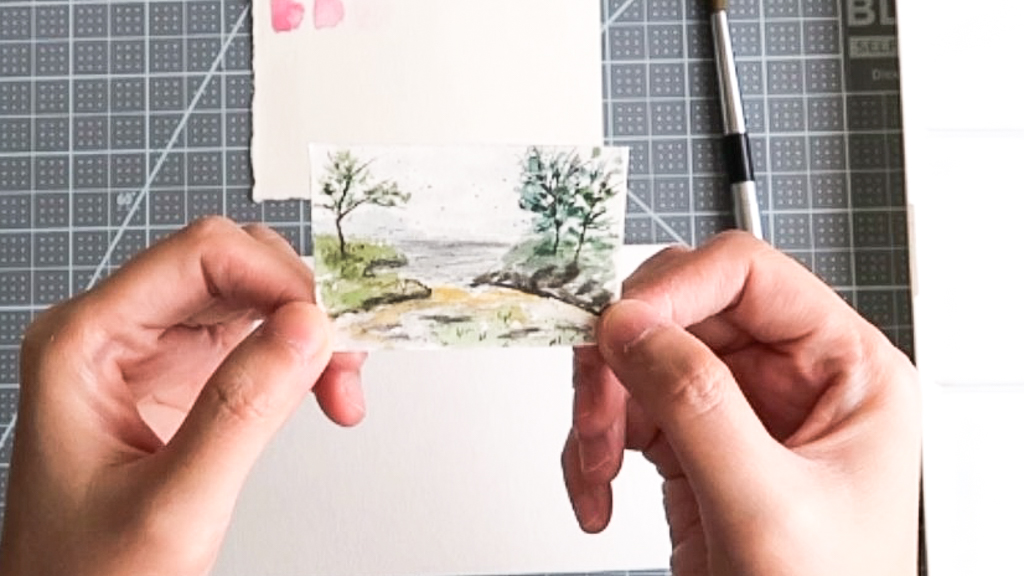
For the islands, we’re going to do the mixing directly onto the paper. First, wet the area with water. Then start putting on different colors. If you want the island green, then putting yellow and blue onto the paper ( yellow + blue = green ), if you want some brown then add brown. This is a fun part and you should enjoy and experience any colors you like. I highly recommend you experiment first on another piece of paper to see what kind of colors you will get, and how it turns out.
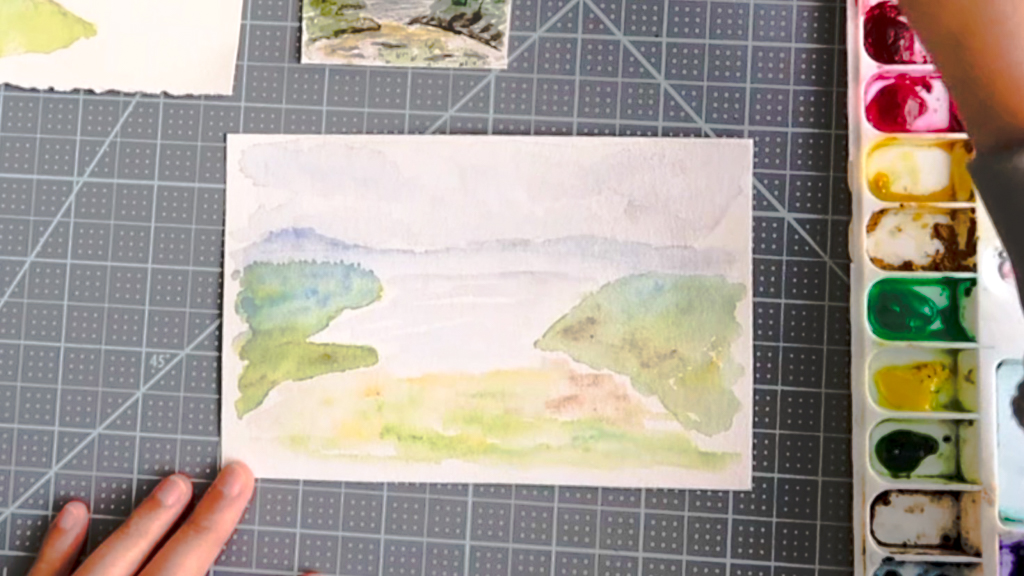
The foreground is the closest to the eyes, so we’re going to use warm colors for this area. Using the same mixing on paper technique ( step 2 ) and start to apply different colors directly on the paper. Some warm colors to consider are yellow ochre, brown, and sap green. Looking at your palette and see what colors you have, and pick up whatever colors you like.
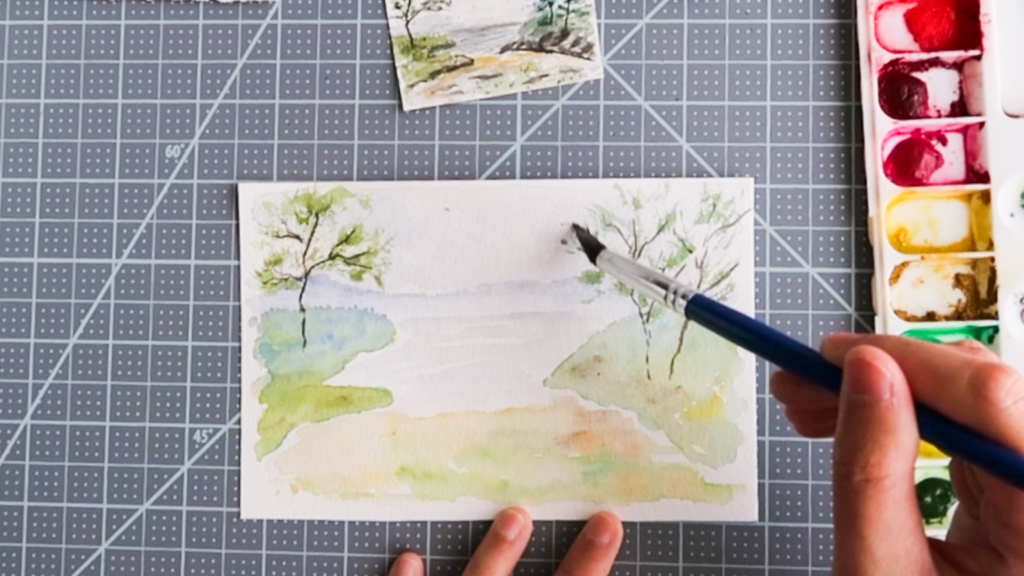
Step 4: Painting the ocean & trees
Use the same blueis-grey of the sky to paint the ocean. Use your brush to draw horizontal lines to connect the two islands that you did in the previous step. Be careful don’t go overboard to the foreground.
For the trees, use a dark deep brown to draw branches. To paint leaves, I use my dollar store brush, which is not in perfect shape anymore. However, I find it can be useful to paint leaves and grasses. If you have any cheap brush in which the bristle is damaged and separated, try to use it and see what kind of marks it can create, and apply it to your painting. This kind of brush sometimes can give you a very unique mark, which makes your painting look even more interesting. I will apply the dry brush technique to paint leaves. Keep your brush just damp enough to absorb the paints, don’t make it too wet otherwise this technique won’t work. The other thing is to wait for all the layers on the paper to dry completely before painting.
Step 5: Final touch

At this stage, your painting is pretty much complete. I suggest that you pause, take a step back, go make some coffee or tea. Then go back and look at your painting to see if there is an area that is too light or lacks contrast, then making adjustments accordingly.
Now, the painting is done. You can have your painting framed and displayed in your home, or turning it into a greeting card and send to friends and family.
Thank you for stopping by, and I hope you find this tutorial helpful !
You can share your painting with me by tagging me on Instagram @teresab_art. I’m more than happy to see your painting.
Until next time !
This card is available for purchase HERE
DISCLAIMER: Links included in this description may be affiliate links. If you purchase a product with the links that I provide, I may receive a small commission. However, there is no additional charge to you. I appreciate your support.
Bee Paper 100% cotton coldpress: https://amzn.to/3tFDm2L
Winsor & Newton Cotman Water Colour Paint, Set of 12, 8ml Tubes: https://amzn.to/32C2LOQ
Canson XL: https://amzn.to/3sCeCqB
Strathmore blank cards : https://amzn.to/3arlAZ9
Strathmore bamboo cards: https://amzn.to/2QGeZUd
Princeton Aqua Elite, round size 6: https://amzn.to/2Qe67Fh
Princeton Aqua Elite silver, round size 8: https://amzn.to/3t8vsO6
Other art supply option in the US: